
Noise-Free Recording. Advanced Techniques No. 1
As your recordings improve, irregular noises become harder to tolerate. A little click gets in just before the music begins, or an advertisement bursts in as a piece quietly ends, completely spoiling the mood. So let’s investigate techniques for keeping unwanted noise out of recordings. There are considered to be roughly three kinds of noise source.
Noise from the Power Supply
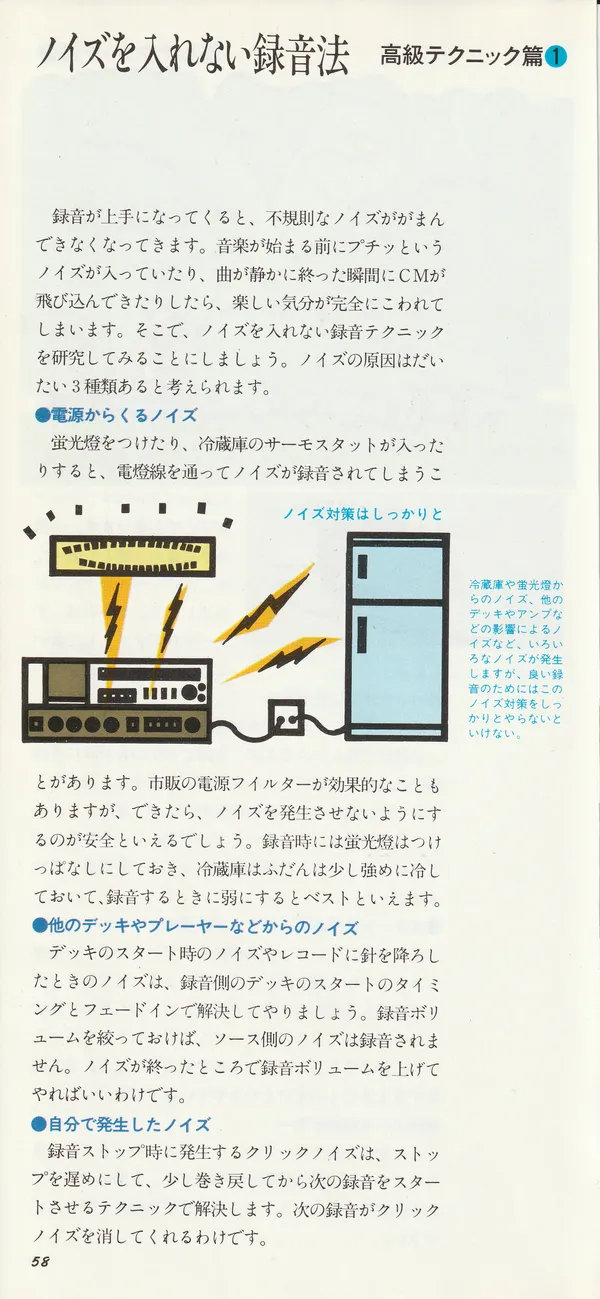
When a fluorescent lamp is switched on or a refrigerator thermostat operates, noise sometimes enters the recording through the power line. Commercial power-line filters can be effective, but where possible it is safer to prevent the noise in the first place. During recording, leave the fluorescent lamp on. Keep the refrigerator set to slightly stronger cooling normally, then switch it to a weaker setting immediately before recording: that is the best approach.
Take thorough measures against noise (caption to page 58): All kinds of noise arise from refrigerators, fluorescent lamps, other decks and amplifiers, and so on. For a good recording, take thorough measures against them.
Noise from Other Decks, Turntables and Similar Equipment
Noise when a deck starts or a stylus is lowered onto a record can be dealt with by timing the recording deck’s start and using a fade-in. If the recording volume is down, noise from the source will not be recorded. Once the noise is over, simply raise the recording volume.
Noise We Make Ourselves
A click caused by stopping a recording can be dealt with by stopping a little later, winding back slightly and then starting the next recording. The next recording erases the click itself.
Precise Erasure. Advanced Techniques No. 2
A click got in immediately after a song ended. An advertisement burst in without a pause. At such times we want somehow to cut out only the noise.
However, the distance between the erase head and the record/playback head of a cassette deck is about 2.5 cm, or about 0.5 seconds. Unless you work very skillfully, you may erase the valuable music itself. Here is a technique for cutting noise immediately after a song.
- Play the very end of the song. Stop the tape when the song ends. Repeat once or twice, and do not stop trying until you are completely confident.
- Remove the cassette and lightly touch the tape at the pressure pad with a sharply pointed pencil. Do not press hard under any circumstances. A light touch is enough: hold the tape up to the light and the mark will be visible.
- Move the mark to the position of the erase head. Carefully winding with a pencil is safe.
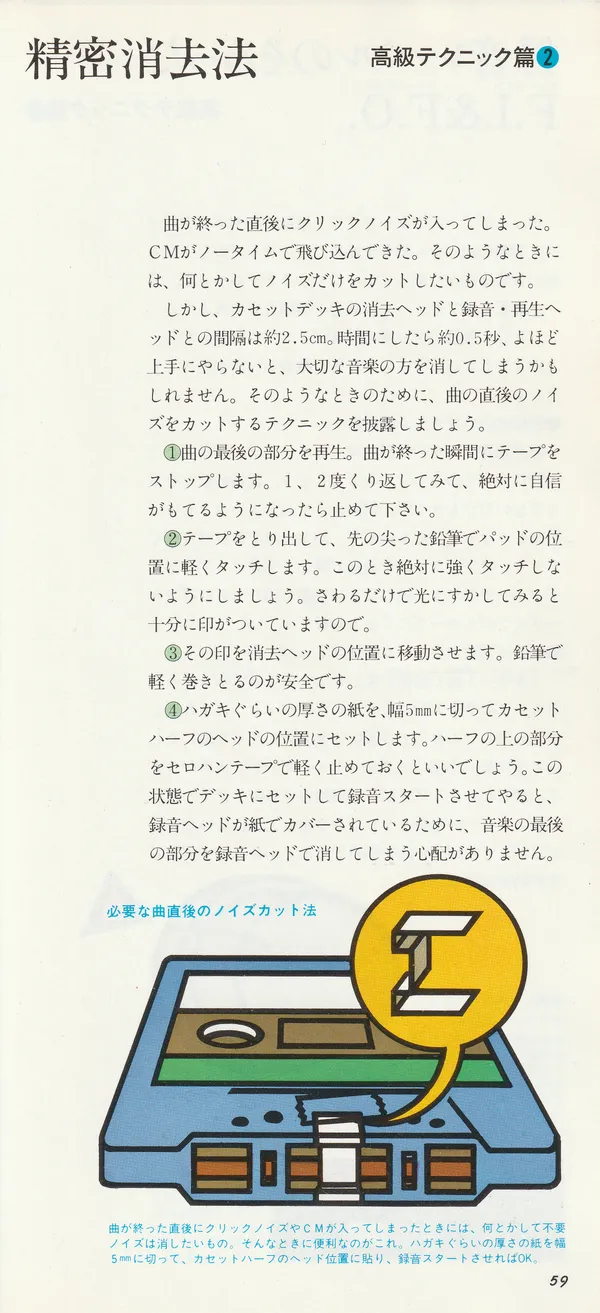
- Cut paper about as thick as a postcard into a 5 mm strip and place it in the cassette shell at the head position. Lightly secure the top of the shell with adhesive tape. Insert the cassette in the deck and start recording. Because the recording head is covered by the paper, there is no need to fear that it will erase the end of the music.
Removing noise immediately after a song (caption to page 59): When a click or advertisement gets in just after a song ends, you want to erase the unwanted noise. Cut paper about as thick as a postcard into a 5 mm strip, attach it over the head position on the cassette shell and start recording.
F.I. & F.O. at a Consistent Recording Level. Advanced Techniques No. 3
Fade-in and fade-out are basic recording techniques. Starting a recording partway through a broadcast or gently fading music before the tape ends is especially useful when editing tape and recording broadcasts.
But raising and lowering an ordinary deck recording-volume control inevitably upsets the recording level.
Using a Rotary Volume Control
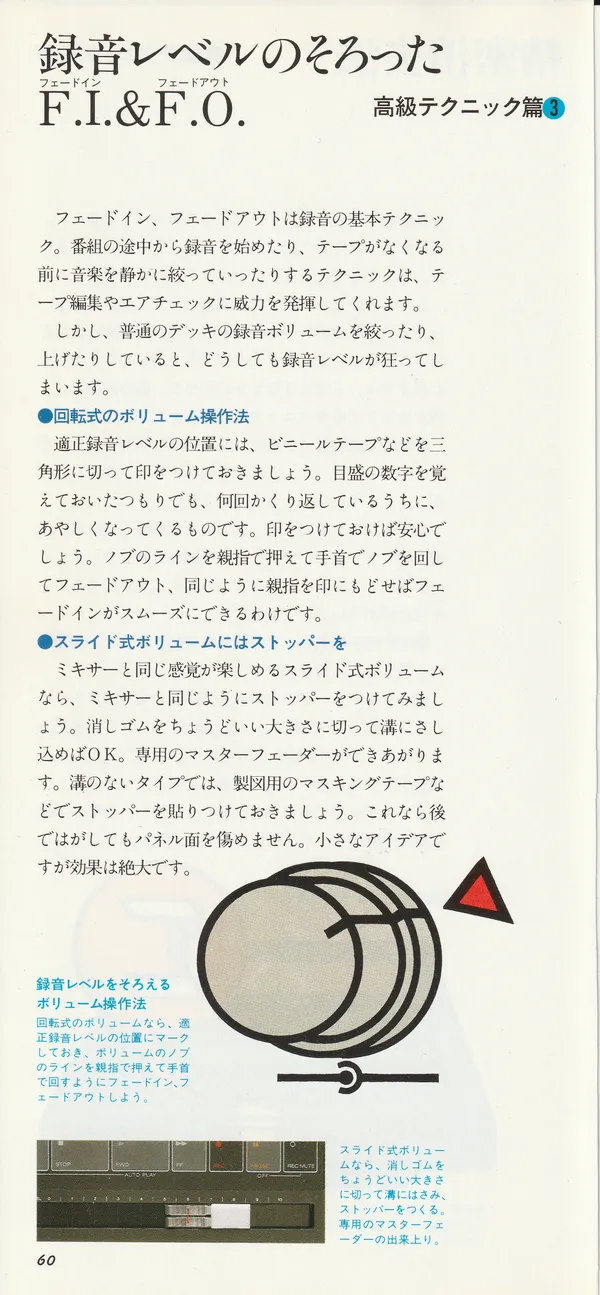
Mark the correct recording-level position, for example with a triangle cut from insulating tape. You may think you remember the number on the scale, but after repeating the operation many times this becomes uncertain. A mark gives you confidence. Press your thumb against the line on the knob and turn it with your wrist for a fade-out; return your thumb to the mark in the same way for a smooth fade-in.
A Stop for a Slider Control
If you have a slider control with the feel of a mixer, fit a stop as on a mixer. Cut an eraser to size and insert it into the slot. You have a dedicated master fader. If the control has no slot, attach the stop with drafting masking tape, which will not damage the panel when removed. A small idea with a large effect.
Using the volume control to keep the recording level consistent (caption to page 60): With a rotary control, mark the correct recording-level position, hold your thumb against the line on the knob and turn your wrist to fade in and out.
Slider type (caption to page 60): Cut an eraser to size and insert it into the slot as a stop. Your dedicated master fader is ready.
Relay Recording. Advanced Techniques No. 4
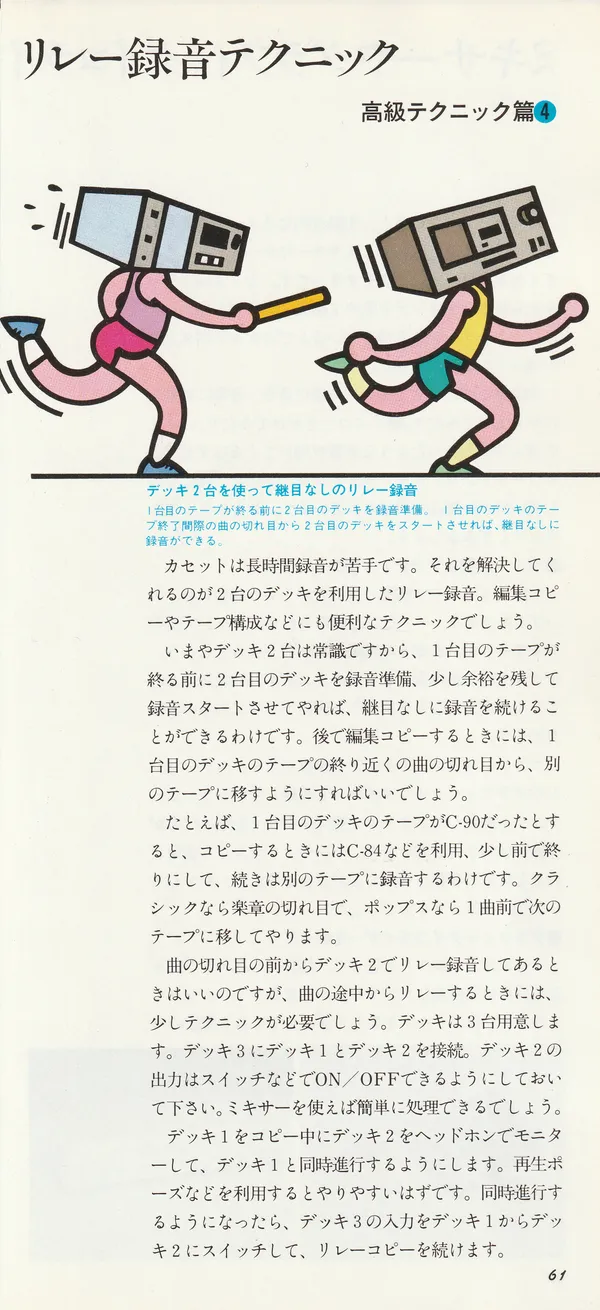
Seamless relay recording with two decks (caption to page 61): Prepare the second deck before the tape in the first deck ends. If the second deck is started at a gap between songs near the end of the first tape, recording can continue seamlessly.
Cassettes are poorly suited to long recordings. Relay recording with two decks solves this. It is also convenient for edited copies and compiling a tape.
Two decks are commonplace today, so if you prepare the second for recording before the first tape ends and start it with a little overlap, recording can continue seamlessly. When later making an edited copy, you can copy to another tape from a gap between songs near the end of the first deck’s tape.
For example, if the first deck’s tape was C-90, use a C-84 for the copy, finish slightly earlier and record the continuation on another tape. With classical music, change tapes at the junction between movements; with pop music, one song before the end.
When the relay on deck 2 starts before a gap between songs, this is straightforward. When it starts in the middle of a song, a little technique is needed. Prepare three decks. Connect decks 1 and 2 to deck 3. Arrange for deck 2’s output to be switched on and off with a switch or the like. A mixer makes the operation simple.
While copying from deck 1, monitor deck 2 on headphones and synchronize it with deck 1. Playback pause and similar functions are useful. Once synchronized, switch deck 3’s input from deck 1 to deck 2 and continue the relay copy.
Try a Mixer and Graphic Equalizer. Advanced Techniques No. 5
The word “mixer” suggests field recording, but even away from microphones a mixer is a wonderful accessory that makes tape recording enjoyable. When collecting favorite sounds from two or three decks and editing them together, having a mixer can completely change the result.
Waves or thunder captured in field recordings can be woven effectively into music, or a little echo added. A previously unimaginable world opens up. Convenient products combine a mixer with an echo unit or graphic equalizer. Let’s give it a try.
Passive and Active Mixers
If you want a mixer mainly for tape editing rather than field recording, even a passive mixer - no amplifier, just a combination of volume controls - can have a noticeable effect. It is quite sufficient for mixing three decks. It is also attractive because it can be obtained for under ¥10,000.
If you want to add a microphone for compiling tapes, or connect an echo unit or graphic equalizer, an active mixer with a built-in amplifier offers more room to grow. A pan pot lets you move the sound image wherever you want, making things much more interesting.
Using a Graphic Equalizer
Unlike a tone control, a graphic equalizer lets you freely control any range from low to high frequencies. It is a magical machine for decorating a tape with sound. Besides cutting interference or correcting unnatural highs or lows, try actively creating sounds you like or find interesting.
Cut both the highs and lows decisively on a good-sounding record to make it sound like an SP record and create a nostalgic atmosphere; turn the sound of an effects unit into something completely different. Depending on your ideas, the possibilities can expand endlessly.
Take care not to boost too much. A graphic equalizer normally has about ±12 dB of control, so a strong boost can raise part of the recording level by as much as 12 dB. Naturally, the tape will distort. When making a strong adjustment, remember to lower the recording level a little.
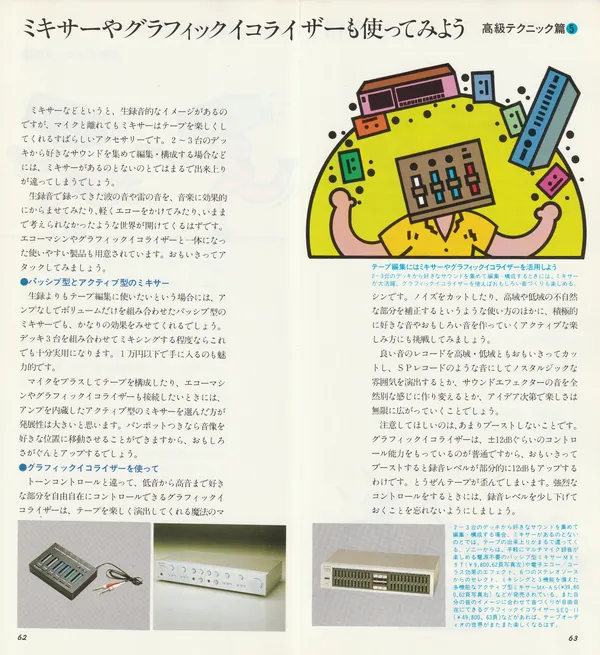
Use a mixer and graphic equalizer for tape editing (caption to page 63): When collecting favorite sounds from two or three decks and editing them together, a mixer plays a major role. A graphic equalizer also lets you enjoy creating interesting sounds.
Sony mixers and equalizer (caption to pages 62-63): When collecting favorite sounds from two or three decks and editing them together, the presence or absence of a mixer completely changes the result. Sony offers, for example, the passive MX-9T mixer, which requires no power and makes multi-microphone recording easy (¥9,800, left photograph on page 62), and the multifunction active MX-A5 mixer with electronic echo and chorus effects, selection of six stereo sources, and mixing (¥39,800, right photograph on page 62). Add a graphic equalizer such as the SEQ-11 (¥49,800, page 63), which lets you freely create the sound you imagine, and the world of tape audio becomes even more enjoyable.
Passing a Cassette Audition. Advanced Techniques No. 6
The tactics for making a serious audition tape and a cassette for a late-night broadcast must be 180 degrees apart. First, let’s consider a tape for a competition.
The First Shot Decides an Audition Tape
To pass the preliminary selection among an enormous number of tapes, the first shot matters. Choose good tape and record so sound begins immediately after the leader tape.1 If the sound takes too long to start, your taste may be doubted and the tape rejected. Aim for sound to appear within three counts of pressing start.
Choose the first sound with taste. The arrangement should also be built with that in mind. Good sound is a given. Excuses do not work for an audition tape. Write the title neatly and accurately, and include the performance time. Don’t forget to make a backup copy.
First impressions matter on an audition tape (caption to page 64): To pass preliminary selection among a huge number of tapes, the first sound is important. Make it appear within three counts of pressing start. Consider the arrangement as well so the first sound is chosen with taste. Of course, use good tape.
For Late-Night Broadcast Tapes, the Idea Decides
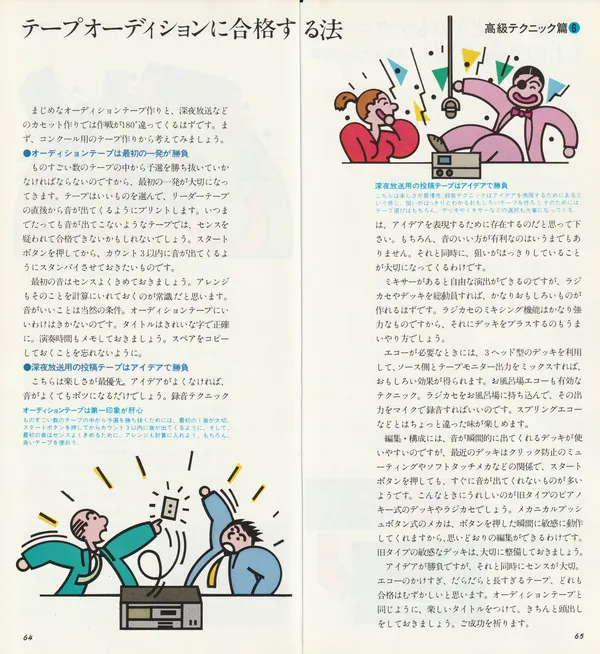
The idea decides for late-night broadcast tapes (caption to page 65): The priority here is fun. Recording technique exists to express an idea. Make an interesting tape whose intention is clear. The choice of tape, deck, mixer and other equipment matters too.
Here the priority is fun. If the idea is weak, the tape will simply be rejected even if it sounds good. Please think of recording technique as existing to express the idea. Good sound is of course an advantage, and a clear intention is important too.
A mixer allows free production, but a radio-cassette recorder and decks can also produce quite interesting results. The radio-cassette recorder’s mixing function is quite capable, and adding a deck is another good method.
For echo, use a three-head deck: mixing the source output and tape-monitor output gives an interesting effect. “Bathroom” echo is effective too. Take the radio-cassette recorder into the bathroom and record its output with a microphone. You can enjoy a character slightly different from spring echo.
For editing and compiling, a deck that produces sound immediately is convenient. Many recent decks, however, have protective muting against clicks, soft-touch mechanisms and the like, so sound does not appear immediately even when start is pressed. Older piano-key decks and radio-cassette recorders are welcome here. Their mechanical push-buttons respond instantly and sensitively, allowing edits as intended. Look after responsive older decks and keep them in order.
The idea is decisive, but taste is also important. Excessive echo or an overly drawn-out tape will probably have difficulty passing. As with an audition tape, give it a fun title and cue the start carefully. Good luck.
Deliberate Misuse as a Technique: Overdub Recording. Advanced Techniques No. 7
Making a mistake unknowingly is an error, but doing it deliberately is a technique. There must be all kinds of ways to do this.
If TYPE II (CrO₂) tape is recorded in the TYPE I (NORMAL) position, the high frequencies are terribly emphasized, giving a delicate impression. MOL will be lower, but if you do not raise the recording level too high, you can unexpectedly bring out a delicate quality. When that is the sound you want, this can be an effective technique.
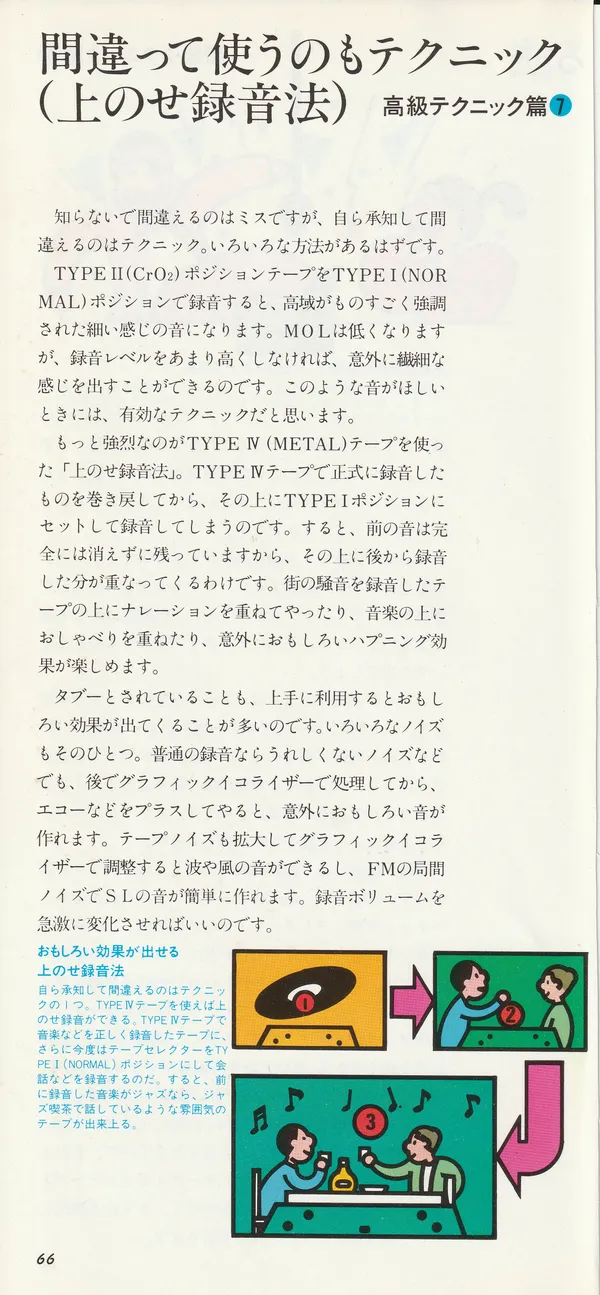
Even more powerful is “overdub recording” using TYPE IV (METAL) tape. Rewind something properly recorded on TYPE IV tape, then record over it with the selector set to TYPE I. The previous sound is not completely erased and remains beneath the new recording. Add narration to recorded city noise or conversation to music, and you can enjoy the interesting effect of unexpected chance.
Things considered taboo often yield interesting effects when used skillfully. Various noises are one example. Even noise unwelcome in an ordinary recording can become unexpectedly interesting if processed later with a graphic equalizer and echo. Boost tape noise and adjust it with a graphic equalizer to produce waves and wind; FM interstation noise easily becomes the sound of a steam locomotive. Simply vary the recording volume sharply.
An overdub method for an interesting effect (caption to page 66): Deliberately making a mistake is one technique. TYPE IV tape can be used for overdubbing. On tape where music and the like has been properly recorded in TYPE IV, record conversation with the selector set to TYPE I (NORMAL). If the earlier music was jazz, the result has the atmosphere of a conversation in a jazz cafe.
Standby Cassettes by Genre. Advanced Techniques No. 8
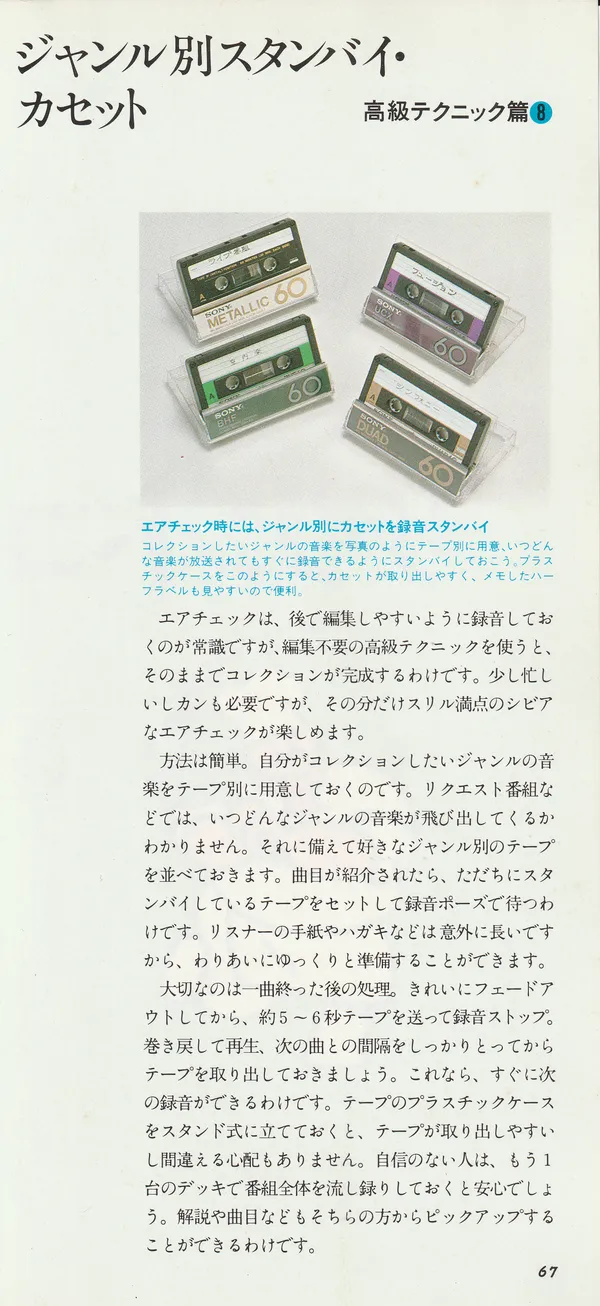
Keep cassettes ready by genre for off-air recording (caption to page 67): Prepare tapes for the music genres you want to collect, as pictured, so you can record immediately whatever music is broadcast and whenever. Arranged this way, the plastic cases make cassettes easy to remove and their labels easy to see.
Off-air recordings are normally made with later editing in mind, but this advanced technique produces a finished collection immediately, without editing. It takes some concentration and intuition, but in return you can enjoy the excitement and intensity of off-air recording.
The method is simple. Prepare a tape for each genre you want to collect. On request programs you never know when music of which genre will appear. Line up tapes for your favorite genres. As soon as a piece is announced, insert the prepared tape and wait in recording pause. Listener letters and postcards are unexpectedly long, so you can prepare relatively unhurriedly.
The important part is what you do after each song ends. Fade out carefully, run the tape for about five or six seconds and stop recording. Rewind, play it, set a clear gap before the next song and remove the tape. It is then ready for the next recording. Put the plastic cases in a rack so cassettes are easy to remove and cannot be confused. If you are unsure, it is more reassuring to record the entire program simultaneously on another deck. You can recover explanations and track titles from that.
Примечания
-
Leader tape is the transparent or colored film lasting six to eight seconds at the beginning and end of a tape, on which nothing can be recorded. It protects the magnetic layer from direct contact with the pressure roller. Source: Wikipedia (Russian), “Magnetic Tape”. ↩